Configure the Windows Managed Agent using Microsoft Intune
247connect integrates with Microsoft Intune, enabling you to manage Agent configurations centrally. To help you configure the Managed Agent configuration via Intune, we provide a ready-made ADMX template.
Download the ADMX template
-
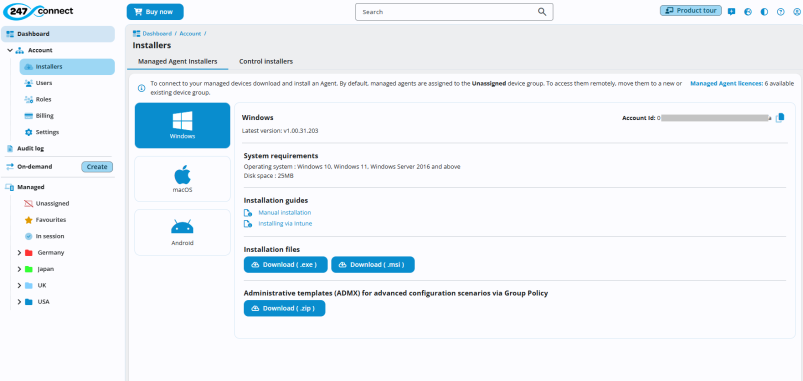
In the 247connect Web Portal, go to Account > Installers in the side menu.
-
Select the Managed Agent installers tab.
-
Click Windows.
-
Download the ADMX template. This downloads as a zip file, which you’ll need to extract.
Apply the configuration in Intune
To apply the configurations, you first need to import this ADMX template into your Intune environment.
-
Log in to the Microsoft Intune admin center.
-
Go to Devices > Manage Devices > Configuration and select Import ADMX.
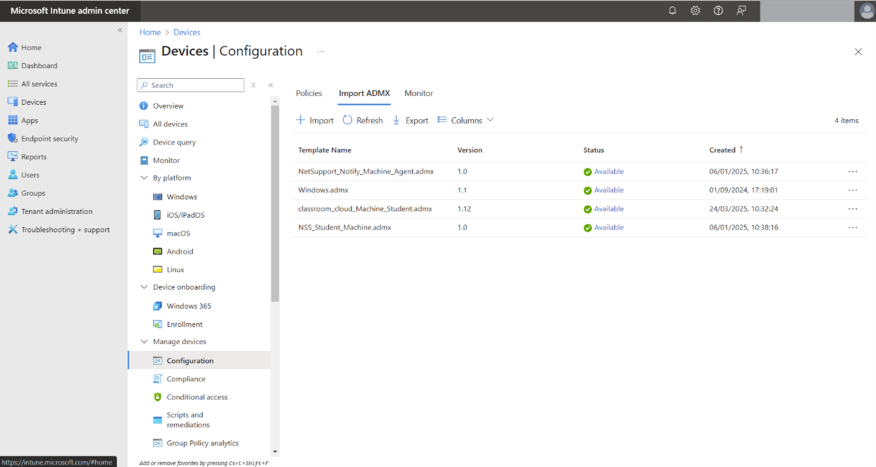 Note: Before importing the 247connect ADMX template, ensure you've already imported the Windows.admx template. You can find it on any Windows machine in C:\Windows\PolicyDefinitions, with the associated Windows.adml file in the \en-US folder. Follow the same steps below to import both the Windows.admx and the 247connect.admx template files.
 -
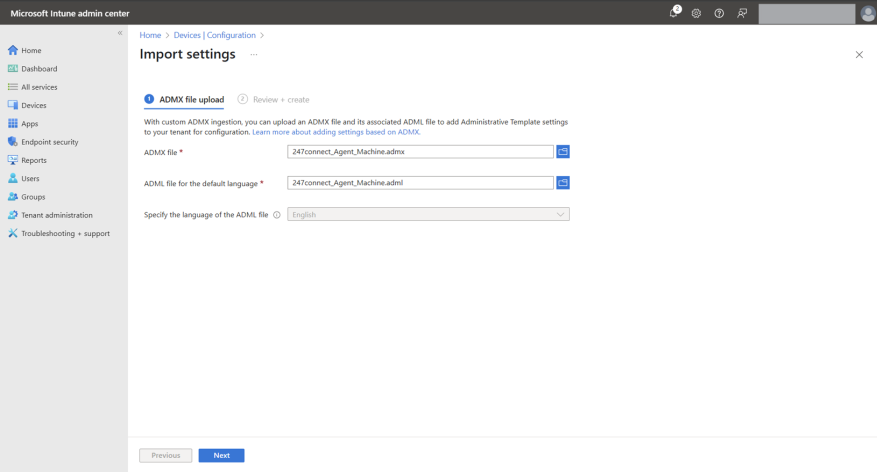
Click Import and upload both the 247connect_Agent_Machine.admx and 247connect_Agent_Machine.adml files you extracted earlier.
-
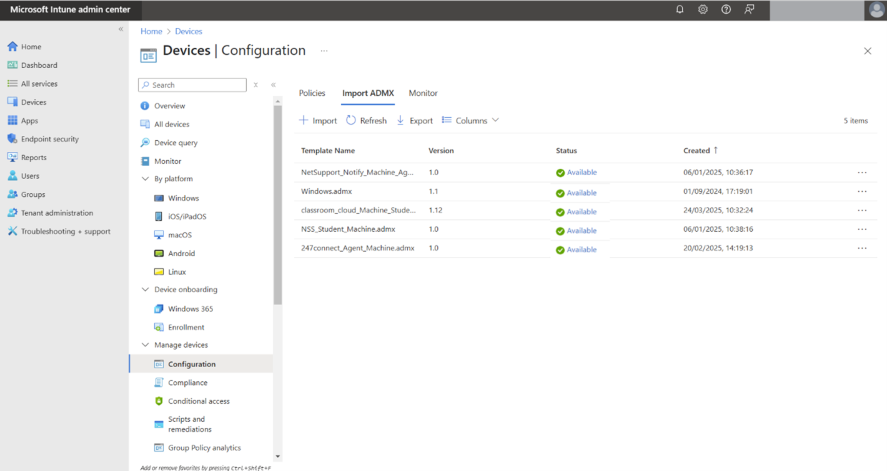
Click Next, then Create. After a short delay, the 247connect ADMX template appears in the list of available templates.
-
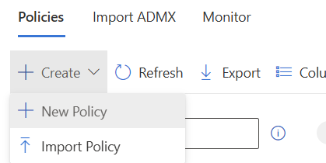
Click Policies, then Create > New Policy to create your policy.
-
In the Create a profile screen, set Platform to 'Windows 10 and later', Profile type to 'Templates' and choose Imported Administrative templates (Preview) from the list.

-
Click Create. You'll be prompted to enter a name and description for your policy.
-
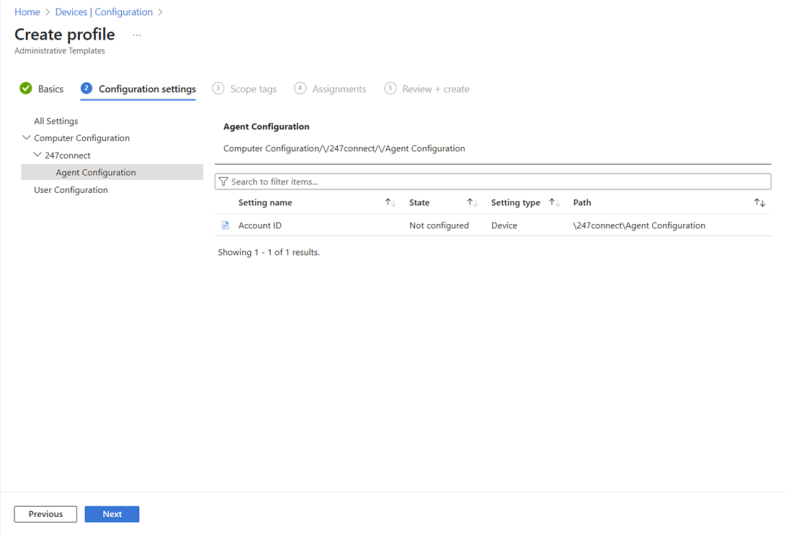
Click Next. You'll see a list of the available configuration templates. Choose the 247connect template and you'll find the relevant settings for configuring the 247connect Managed Agent to connect to your
-
Configure the required settings, assign the policy to the appropriate groups and then create the policy.


