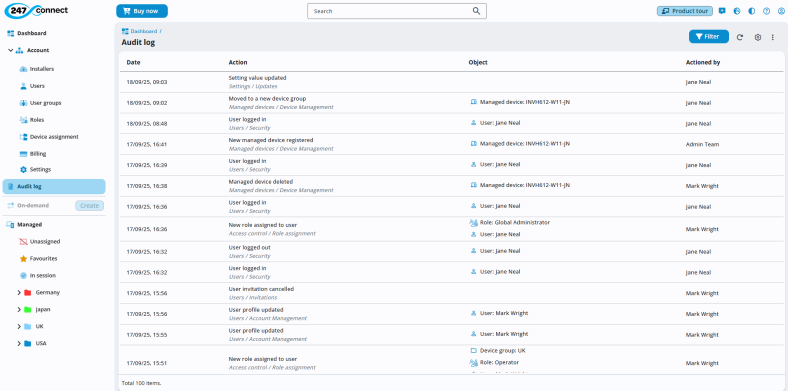
Audit log
The audit log provides a record of key actions taken within your 247connect account. Use this log to track user activity, monitor configuration changes and support auditing requirements. You can use filters to quickly locate important changes and customise the table by selecting which columns to display.
For each action, you can view specific details, including the date and time it took place, a description of the activity, the user, device or device group affected by the action and who performed the action.
Access the audit log
-
In the 247connect Web Portal, go to Audit log in the side menu.
You can sort the table by clicking a column header. Click again to change the sort direction. An arrow icon next to the column header indicates the current sort direction.
You can
 icon at the top of the display area. In the Manage columns pane, remove a column by clicking the close
  icon or drag and drop column names to reorder them, then click Save.Note: Locked columns (indicated with a padlock
 icon) can't be removed. To reinstate a removed column, select it from the Add new column drop-down list. To restore the default column layout, click Reset.
You can export the table to a PDF or .CSV file. Click the three dots icon
 at the top right of the display area, then select Export to PDF or Export to CSV. The file is saved in your Downloads folder.
 -
By default, all data is displayed for this week. To filter the data, click Filter and choose the criteria you want to filter by (e.g., actions performed by specific users or remote control sessions this week). You can apply multiple filters to drill down into the specific information you need. Click Apply. To clear all filters and return to the default view, click Reset.
-
Clicking an entry opens a detailed view with more information about the action performed.

To update the entries, click Refresh.


