Deploy the macOS Control using Jamf Pro
You can deploy the 247connect macOS Control to macOS devices using the Jamf Pro MDM tool.
Step 1 - Download the macOS Control
To deploy the 247connect macOS Control application via Jamf Pro, you first need to download the installer.
-
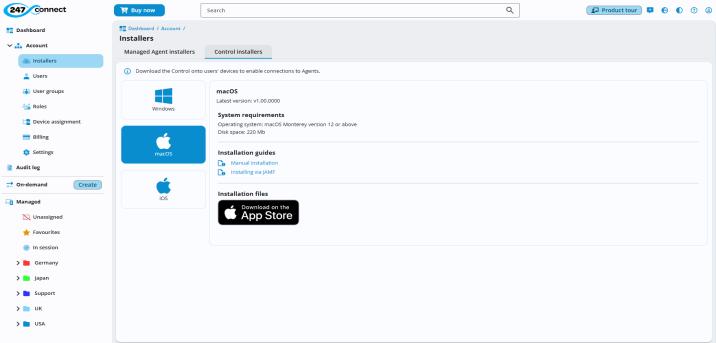
In the 247connect Web Portal, select Account > Installers from the side menu.
-
Select the Control installers tab.
-
Click macOS.
-
Download the .pkg file from the Apple App Store.
Step 2 - Create the 247connect Control deployment package in Jamf Pro
-
Sign in to your Jamf Pro account.
-
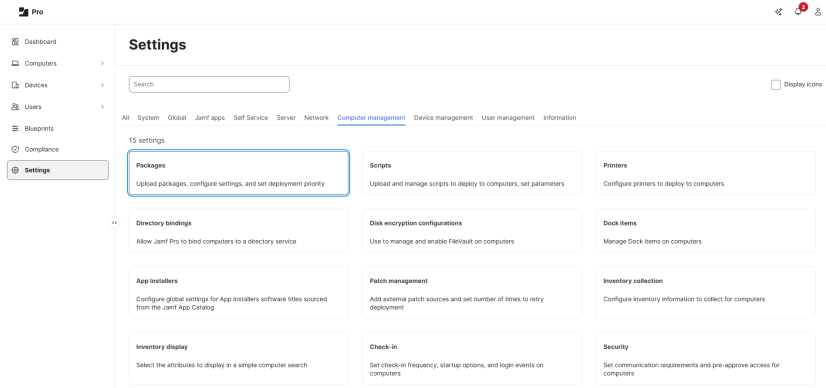
Go to the Computers tab, select Settings.
-
Choose Computer Management > Packages.
-
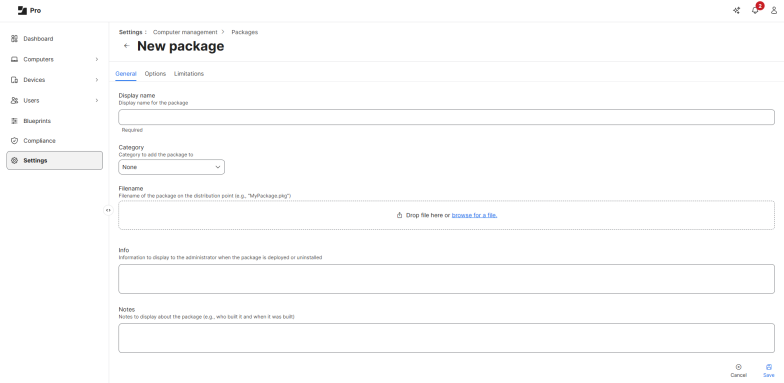
Click New, then enter a name for the package.

-
Click Browse for a file and upload the previously downloaded 247connect Control.pkg file.
-
Click Save. The 247connect macOS Control package appears in your packages list.
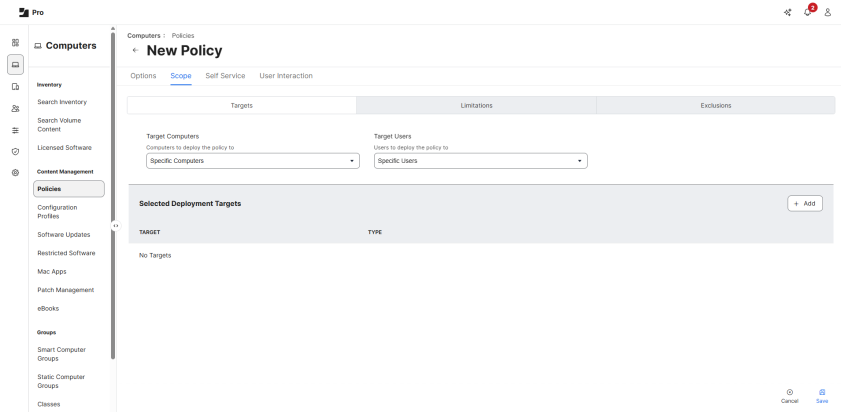
Step 3 - Create the deployment policy
You now need to create your policy within Jamf Pro to send out the package.
-
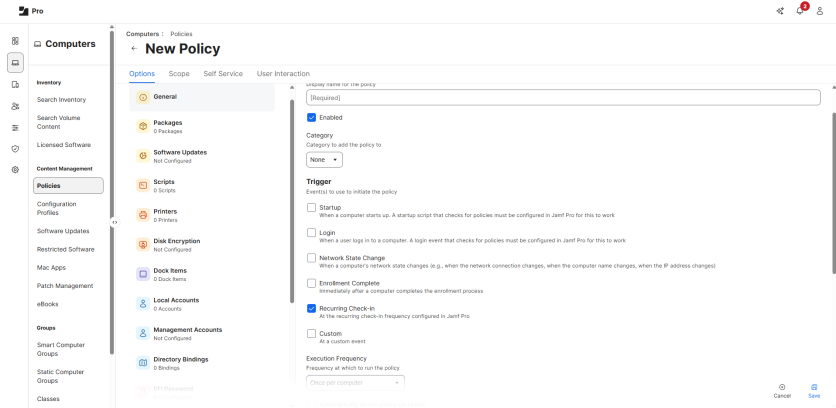
In the Computers tab, select Content Management > Policies.
-
Click New and enter a name for the policy.
-
Add the package you created in the previous step.
-
Ensure you select the Recurring Check-in option.
-
In the Scope tab, click Add to select the target devices you want the macOS Control installed onto.
-
Click Save.
Jamf will now deploy the 247connect macOS Control to your selected devices.


