Using Jamf Pro to deploy the macOS Agent
You can use Jamf Pro to deploy the 247connect macOS Agent and its configuration settings to managed Mac devices.
Download the macOS Agent and configuration files
-
In the 247connect Web Portal, select Account > Installers from the side menu.
-
Select the Managed Agent installers tab.
-
Click macOS.

The page shows your account ID.
-
Click Download (.pkg) to download the Agent installer. The file name includes your account ID.
-
Click Download (.mobileconfig). This file enables Jamf Pro to deploy the required macOS permissions.
Note: The .mobileconfig file doesn’t include the Screen Recording permission. You must enable this manually on each device using Mac administrator credentials. If this isn’t set during installation, macOS prompts end users to allow it when a connection starts.
Create the Agent package in Jamf Pro
-
Sign in to Jamf Pro.
-
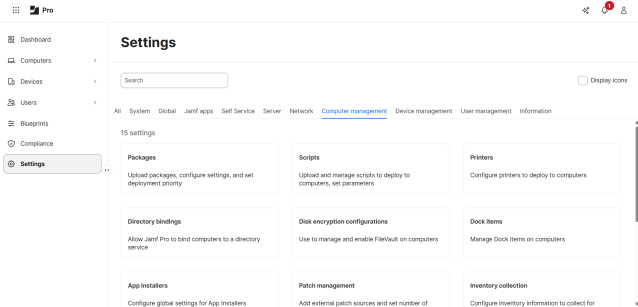
Go to Settings > Computer management.
-
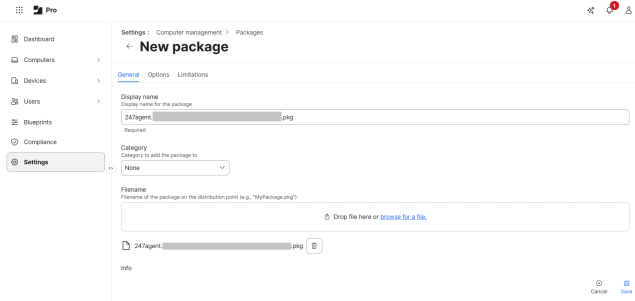
Select Packages and click New.
-
Enter a display name for the package and select the downloaded .pkg file.
-
Click Save. The 247connect Agent package appears in your packages list.
Deploy the 247connect configuration file
-
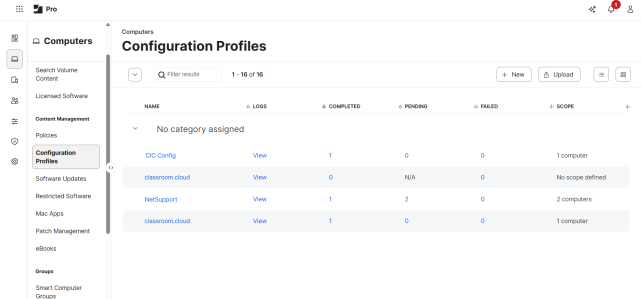
Go to Computers > Content Management > Configuration Profiles.
-
Click Upload and select the downloaded .mobileconfig file.

-
Enter a name for the profile.
-
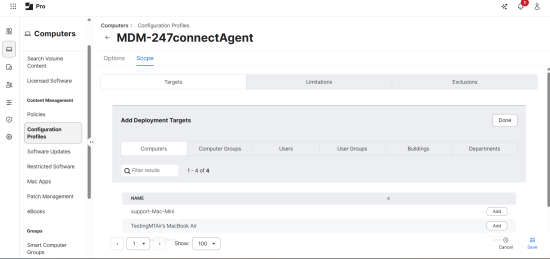
Select Scope, and in the Add Deployment Targets section, click Add to create a group to deploy the configuration to. Locate the required devices or users.
-
Click Save.
Jamf Pro now deploys the .mobileconfig file with the required macOS permissions (screen recording needs to be enabled manually per user).
Create the deployment policy
-
Go to Computers > Content Management > Policies.
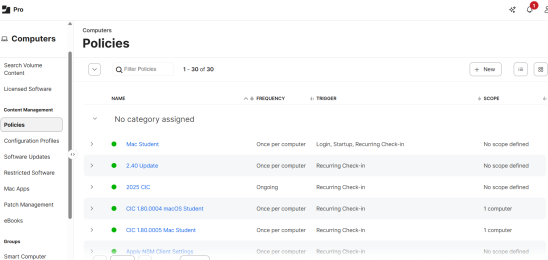
-
Click New and enter a name for the policy.

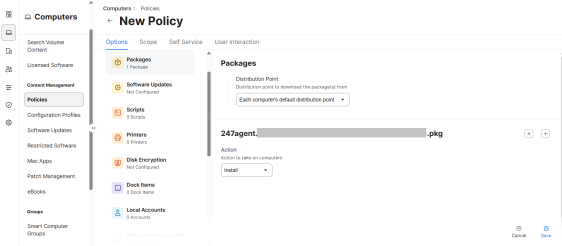
-
Under Options, select Packages and add the 247connect Agent package.
-
Select Scope, then click Add to select the devices or groups to receive the package.
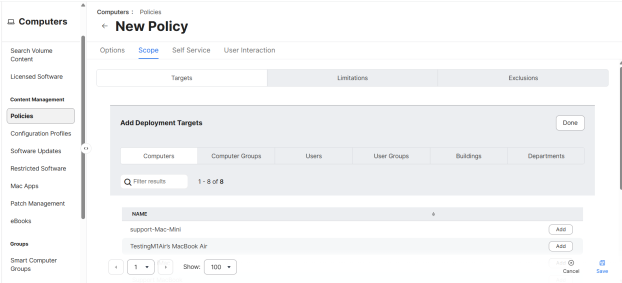
-
Click Save.
Jamf Pro now deploys the 247connect Agent to your selected devices.
When you install Managed Agents, they appear in the Unassigned device group in the 247connect Web Portal. Go to Managed > Unassigned in the side menu. You can now move them to the required device group. Once assigned to a device group, they are licensed and you can connect and interact with them.
Uninstall the Agent using Jamf Pro
You can remove the Agent by deploying an uninstall script through Jamf Pro.
-
Go to Settings > Computer management > Scripts.
-
Click + New.

-
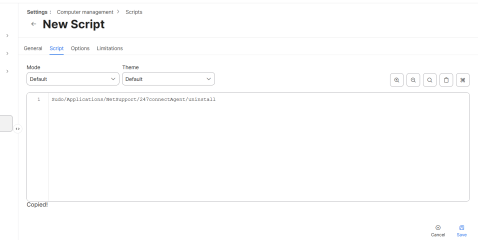
Select the General tab and enter a name for the script.
-
In the Script tab, paste the following:
Sudo /Applications/NetSupport/247connectAgent/uninstall
-
Click Save.
-
Go to Computers > Content Management > Policies.
-
Click + New and enter a name for the policy.
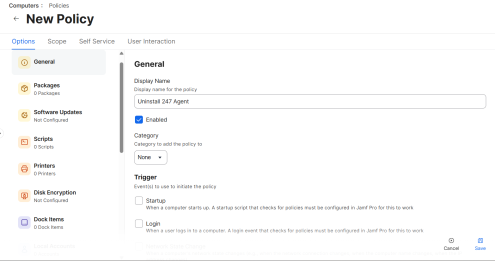
-
Select Scripts and choose the uninstall script.
-
In Scope, add the devices or groups to receive it.
-
Click Save.
Jamf Pro now removes the 247connect Agent from the selected devices.


