Deploy the Windows Control using Microsoft Intune
You can deploy the 247connect Windows Control to your 247connect account using Microsoft Intune. To use this method, you need a Microsoft tenancy and Intune licences. This guide assumes you have already set up your Intune environment.
Download the 247connect Control installer for Windows
-
In the 247connect Web Portal, select Account > Installers from the side menu.
-
Select the Control installers tab.
-
Click Windows.

-
Download the .msi file.
Note: You can install the Control directly from the Microsoft Store. When deploying via Intune, this method has the added benefit of enabling the app to automatically update when a new version is released. For full instructions, see the technical article How to deploy the 247connect Windows Control Microsoft Store app listing via Intune.
You're now ready to configure and deploy the .msi file in Intune.
Add the 247connect Control installer to Intune
-
Sign in to the Microsoft Intune admin centre and select Apps from the menu.
-
Select Windows > Windows apps.
-
Click Create.
-
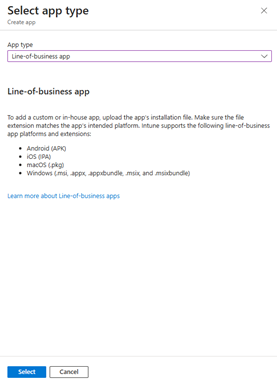
In the Select app type pane, choose Line-of-business app from the App type drop-down list.
-
Click Select.
-
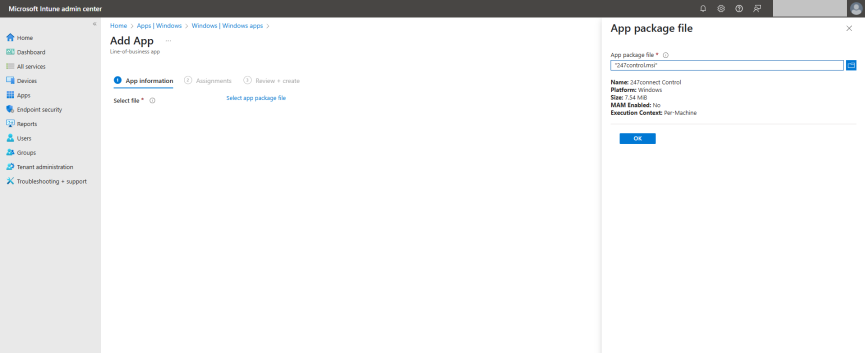
Under App information, click Select app package file.
-
In the App package file pane, browse to and upload the 247connect Control.msi file.
-
Click OK.
-
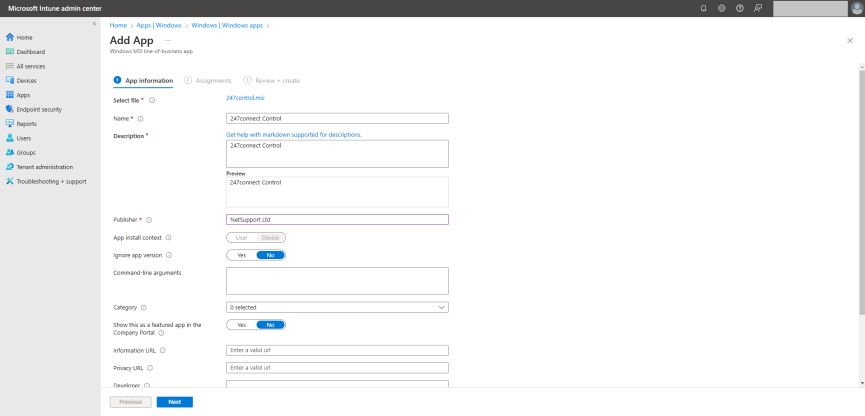
Enter a name and description for the app.
-
Enter NetSupport Ltd in the Publisher field.
-
Set Ignore app version to No.
-
Click Next.
-
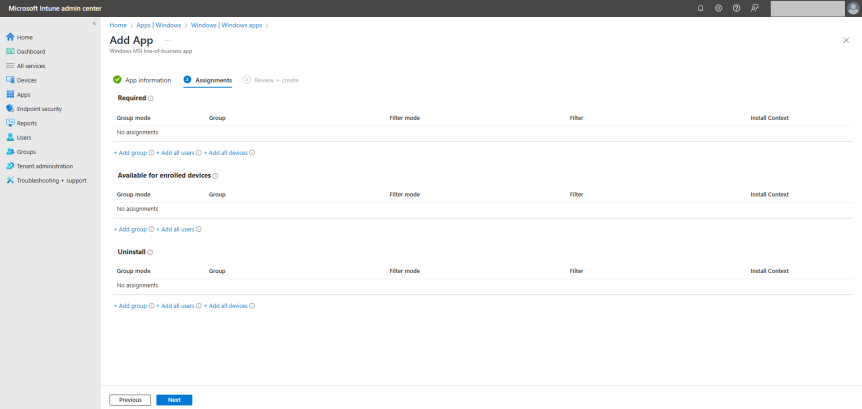
On the Assignments screen, choose how the app should be assigned to your devices:
-
Required: Automatically installs on assigned devices.
-
Available for enrolled devices: Users can install the app from the Company Portal.
-
Uninstall: Removes the app from selected devices.
Note: The uninstall option only works if the app was originally deployed via Intune using Required or Available assignment.
-
-
Click Add Group to assign your required users or devices.
-
Select the appropriate groups and click Select.
-
Click Next.

-
On the Review + create screen, check all the app settings.
-
If everything is correct, click Create to add the app to Intune.
Once created, the 247connect Control app appears in the list of Windows apps and will deploy based on your assignment settings.
Monitor the deployment
To check the deployment status:
-
In the Intune portal, go to Apps > All Apps and select the 247connect Control.
-
Click Device install status to view the deployment progress.


