Role assignment
Assigning roles in 247connect determines which users can access specific features, managed devices and sessions. You can assign one or more roles to one or more users or groups and choose to apply these roles at account level or to specific device groups.
-
Assigning a role at device group level applies those permissions only to the selected group and its sub-groups.
-
Roles assigned to users at account level give users permissions across the entire
-
Changes to role permissions take effect when assigned users log out and log back in. Updates may take up to five minutes to apply.
Create role assignments
You can create role assignments from several locations in 247connect.
Assign roles from the Roles page
Use this method to assign one or more roles to multiple users or user groups.
-
Go to Account > Roles in the side menu.
-
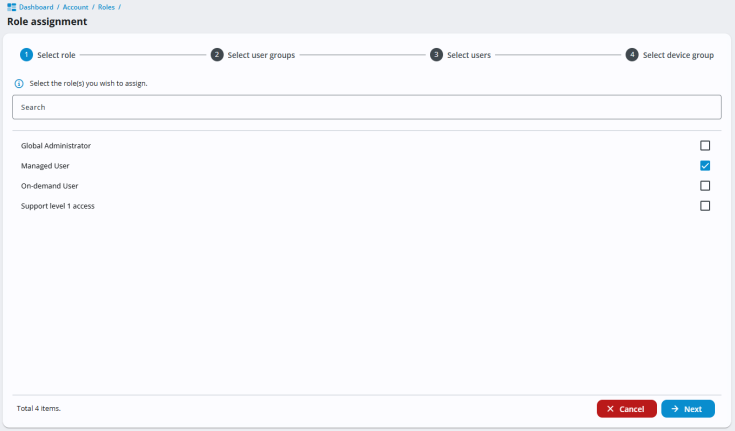
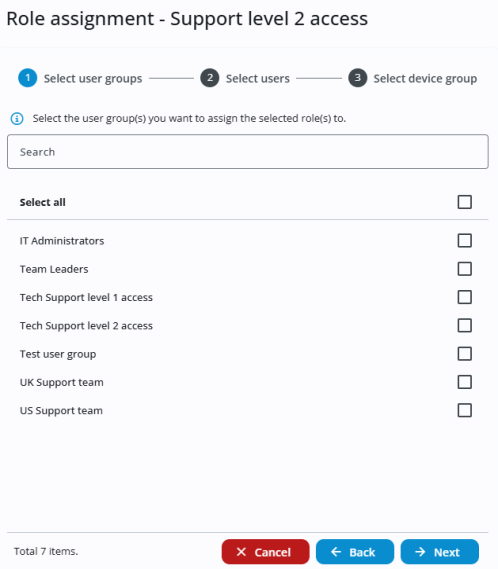
Click Role assignment.
-
Select the role(s) you want to assign.
-
Click Next.
-
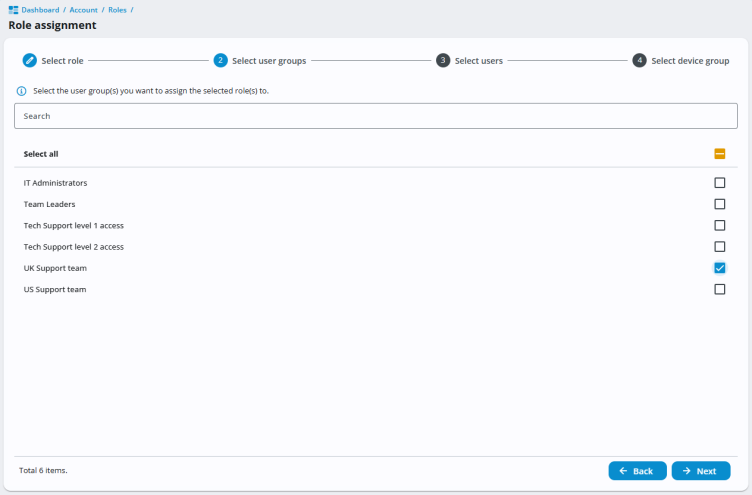
To assign the role(s) to a group, select the user group(s).
-
Click Next.
-
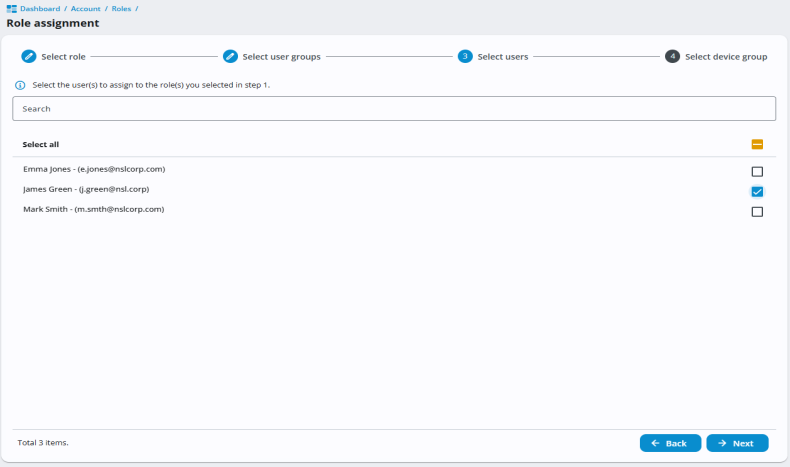
To assign the role(s) to individual, select the user(s) from the list.
-
Click Next.
-
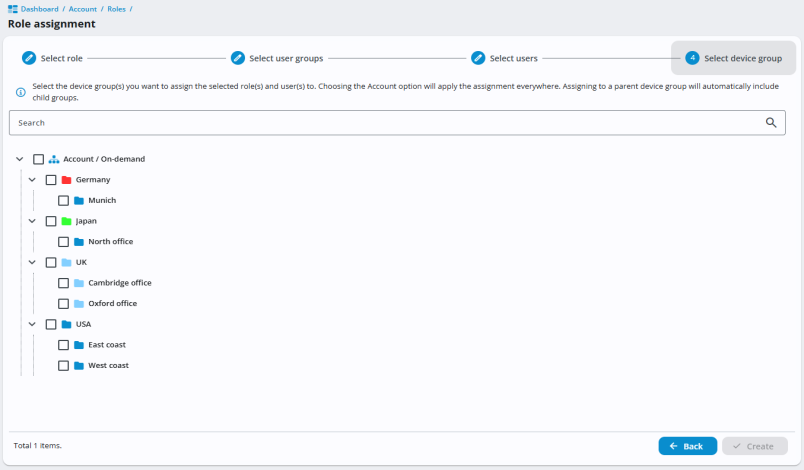
Select the device group(s) to assign the role and user(s) to. Choosing Account / On-demand applies the assignment across the whole account. Assigning to a parent device group will automatically include child groups.
-
Click Create.
During role creation
When creating a role:
-
Enter the role details and configure the role permissions.
-
Click Save.
-
Select the Role assignments tab.
-
Click New role assignment.
-
Select the required user groups.
-
Click Next.
-
Select the required users.
-
Click Next
-
Select the required device groups.
-
Click Create.
Assign roles to a user
Use this method to assign one or more roles to a specific user.
-
Go to Account > Users in the side menu.
-
Click the required user.
-
Select the User role assignments tab.
-
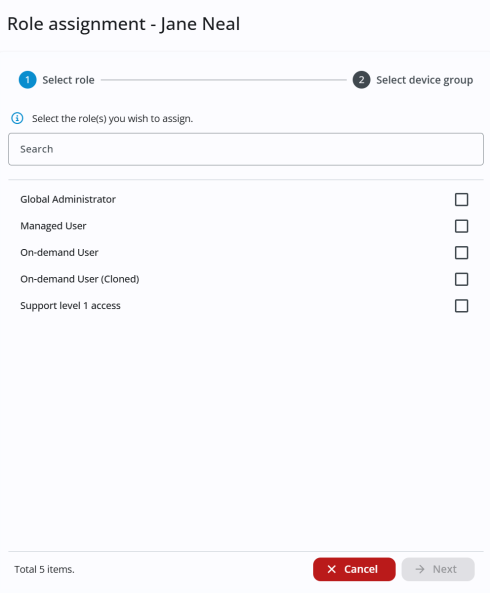
Click New role assignment.
-
Select the required role(s).
-
Click Next.
-
Select the required device group(s).
-
Click Create.
Assign roles to a user group
Use this method to assign one or more roles to a specific user group.
-
Go to Account > User Groups in the side menu.
-
Click the required user group.
-
Select the Role assignments tab.
-
Click New role assignment.

-
Select the required role(s).
-
Click Next.
-
Select the required device group(s).
-
Click Create.
Assign roles to a device group
Use this method to assign one or more roles within a specific device group.
-
Go to Managed in the side menu.
-
Click the required device group.
-
Select the Group role assignments tab.
-
Click New role assignment.

-
Select the required role(s).
-
Click Next.
-
Select the required user group(s).
-
Click Next.
-
Select the required user(s).
-
Click Create.
View and remove role assignments
You can view where each role is assigned and, if you have the required permissions, remove those assignments.
By role
See which users, user groups and device groups are assigned to a role.
-
Go to Account > Roles in the side menu.
-
Click the required role and select the Role assignments tab.
-
View a list of users, user groups and device groups assigned to the role.
-
To change the device groups for a role assignment, select it from the list, update the device groups and click Update.
-
To remove an assignment, click the Delete
 icon next to it.
 -
Click Yes to confirm the removal.
By user
View the roles assigned to a user and the device group where those roles apply.
-
Go to Account > Users in the side menu.
-
Click the required user.
-
Select the User role assignments tab.
-
View the roles assigned to the user and the device groups where those roles apply.
-
To change the device groups for a role assignment, select it from the list, update the device groups and click Update.
-
To remove the role assignment, click the Delete
icon next to the role. -
Click Yes to confirm the removal.
By user group
View the roles assigned to a user group and the device group where those roles apply.
-
Go to Account > User Groups.
-
Click the required group.
-
Select the Role assignments tab.
-
View the roles assigned to the group and the device groups where those roles apply.
-
To change the device groups for a role assignment, select it from the list, update the device groups and click Update.
-
To remove the role assignment, click the Delete
icon next to the role. -
Click Yes to confirm the removal.
By device group
See the roles, users and user groups assigned to a device group.
-
Go to Managed in the side menu.
-
Click the required device group.
-
Select the Group role assignments tab.
-
View the role assignments for the device group.
-
To change the roles assigned to the device group, select the role assignment from the list, update the roles and click Update.
-
To remove a role assignment from the device group, click the Delete
icon next to it. -
Click Yes to confirm the removal.
To delete multiple users or roles at once, select the checkboxes next to each item and click the Delete
 icon in the top right.
To add users, user groups and device groups to a role, click Role assignment and follow the steps in Assign roles.
See also:


