Users
A user is someone with a 247connect account; they can be an Administrator with access to the admin settings or a standard user who can start remote control sessions with the devices they’re to access. Users can also be added to a user group, making it easier to assign the same roles to multiple users at once.
View current users
-
Go to Account > Users in the side menu.
-
A list of users appears in the display area.
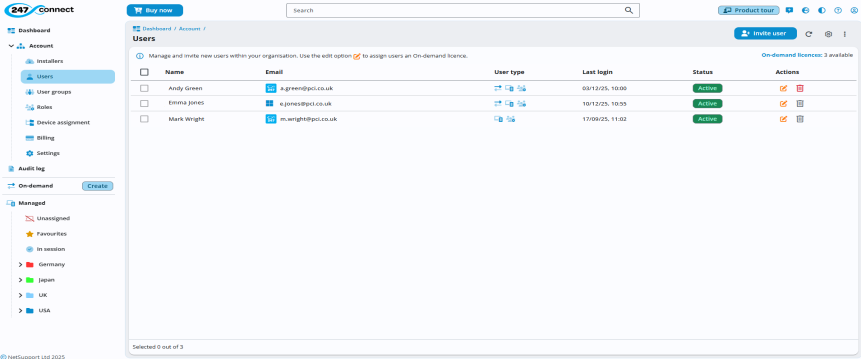
You can sort the table by clicking a column header. Click again to change the sort direction. An arrow icon next to the column header indicates the current sort direction.
You can
 icon at the top of the display area. In the Manage columns pane, remove a column by clicking the close
  icon or drag and drop column names to reorder them, then click Save.Note: Locked columns (indicated with a padlock
 icon) can't be removed. To reinstate a removed column, select it from the Add new column drop-down list. To restore the default column layout, click Reset.
You can export the table to a PDF or .CSV file. Click the three dots icon
 at the top right of the display area, then select Export to PDF or Export to CSV. The file is saved in your Downloads folder.
You can see:
-
Name.
-
Email address with an icon showing the login method (e.g. local, Microsoft, Google or Apple).
-
User type. Indicates what type of user they are and if the user is assigned an On-demand
 On-demand User.
 Managed User.
  Global Administrator.
 -
Last login date and time.
-
Current status (Invited or Active).
If you have the required permissions, you can edit and remove users using the icons in the Actions column (a Global Administrator can't be deleted).
-
Search for a user
-
Click in the search bar and enter your search term.
-
Matching users appear as you type.
-
Click Close
 to end the search.
See also:
Manage individual user details
Assign an On-demand licence to a user