Device groups
Device groups enable you to organise your managed devices and control access to them, ensuring only users can interact with these devices. Without a device group, managed devices remain unlicensed and inaccessible.
-
Some settings can be applied to device groups. Users must have the appropriate permissions to use a feature if it is enabled. If the feature is disabled at the group level, it is unavailable to all users - regardless of their permissions.
-
To assign Windows managed devices directly to a device group during installation, go to Account > Settings and turn on the Enable installer device group assignment option. A Download installers option will appear in each device group, providing an installer pre-configured for that device group.
View device groups
-
Go to Managed in the side menu.
-
An overview of all device groups appears.
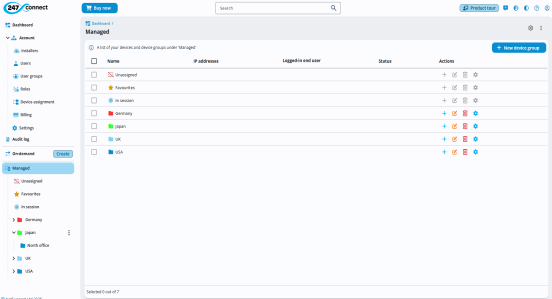
You can sort the table by clicking a column header. Click again to change the sort direction. An arrow icon next to the column header indicates the current sort direction.
You can
 icon at the top of the display area. In the Manage columns pane, remove a column by clicking the close
  icon or drag and drop column names to reorder them, then click Save.Note: Locked columns (indicated with a padlock
 icon) can't be removed. To reinstate a removed column, select it from the Add new column drop-down list. To restore the default column layout, click Reset.
You can export the table to a PDF or .CSV file. Click the three dots icon
 at the top right of the display area, then select Export to PDF or Export to CSV. The file is saved in your Downloads folder.
-
Unassigned: Lists devices that do not have an assigned
Note: By default, when you install a Managed Agent on a device, it appears in the Unassigned device group. You can't connect to or interact with managed devices in this group. To enable remote access, move it to a device group. Devices moved out of the Unassigned group cannot return to it for 90 days. You can use device assignment rules to move devices into a selected device group automatically. -
-
In session: Shows devices that are currently being accessed in an active remote control session.
-
Device groups: Custom folders containing your managed devices. You can create sub-groups to further
Note: A default device group is created automatically for new accounts, named after the company entered during setup.
-
-
Click a device group to show its contents. Three tabs appear:
Group details
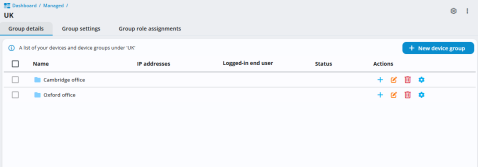
Lists the devices and any sub-groups. Select a sub-group to view its contents, including any nested groups or devices.
Group settings
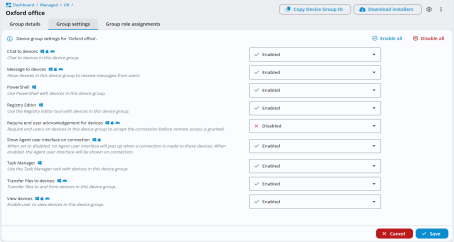
Configure settings specific to the selected device group.
Group role assignments
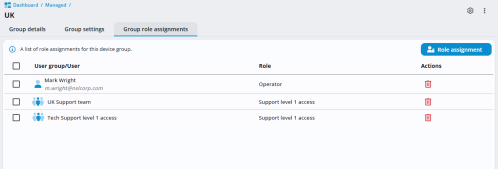
Shows which users, user groups and roles are assigned to the device group. To create a new role assignment, click New role assignment. To edit a role assignment, click the role assignment and update the assigned roles.
The user group/user icon indicates how the role is assigned:
 [Single person icon]
The role is assigned by user.  [Multiple person icon]
The role is assigned via a user group.
Create a device group
-
Go to Managed from the side menu and click New device group.
Or
Hover over Managed in the side menu, click the three dots icon
 and select Create.
Or
To create a sub-device group, select an existing device group and click Create
 or hover over the device group in the side menu, click the three dots icon
  and select Create.
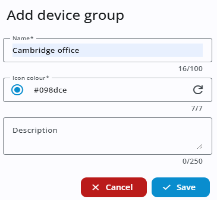
-
Enter a name.
-
Select an icon
 for preset options (the icon displays the currently selected
  to use the
 -
(Optional) Add a description to help identify the group.
-
Click Save.
Manage device groups
Use the icons in the Actions column to:
-
Add sub-groups.
-
Edit the group.
-
Delete the group.
-
Configure settings specific to the group.
See also: