Add a role
Create a custom role to match your needs. You can define which actions and features users can access by configuring role permissions and assigning them to users, user groups and device groups.
To create a role
-
Go to Account > Roles in the side menu.
-
Click Add role.
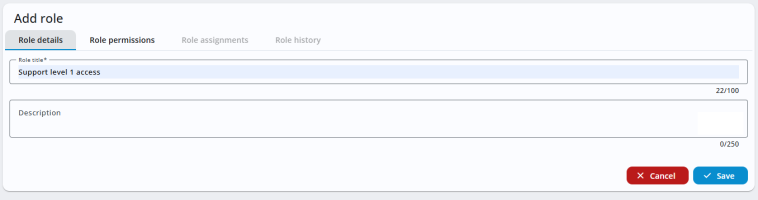
-
Enter a role name.
-
(Optional) Add a description of the role's purpose or permissions.
-
Select the Role permissions tab.
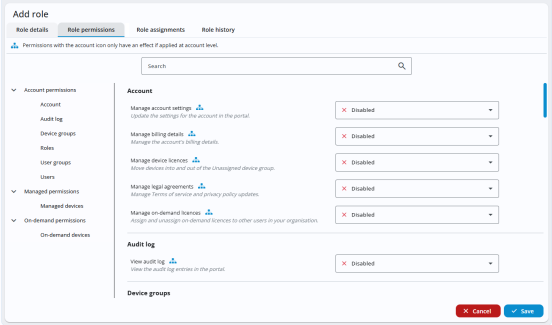
-
Set the role permissions. All permissions are disabled by default.
Note: Account-level and on-demand permissions must be assigned at account level to take effect. These are identified by the Account icon.
icon. -
Click Save.
-
After you save the role, the Role assignments tab becomes available.
-
Select the Role assignments tab and click New role assignment to assign the role to users, user groups and device groups.
Note: The Role assignments tab is unavailable until you save the role. -
Click Save.
See also: